Capturing the awe-inspiring moment of a solar eclipse is a thrilling experience for both amateur astronomers and photographers. However, photographing this celestial event requires careful preparation and the right equipment to ensure both your safety and the capture of stunning images. Here are essential tips and techniques for photographing a solar eclipse.
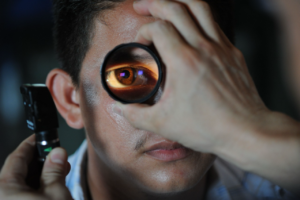
1. Safety First
Before aiming your camera at the sun, it’s crucial to prioritize safety. Never look directly at the sun without proper eye protection. Use solar filters on your camera lens to protect both your eyes and equipment. Solar filters are designed to reduce the sun’s brightness, making it safe to view and photograph without causing harm.
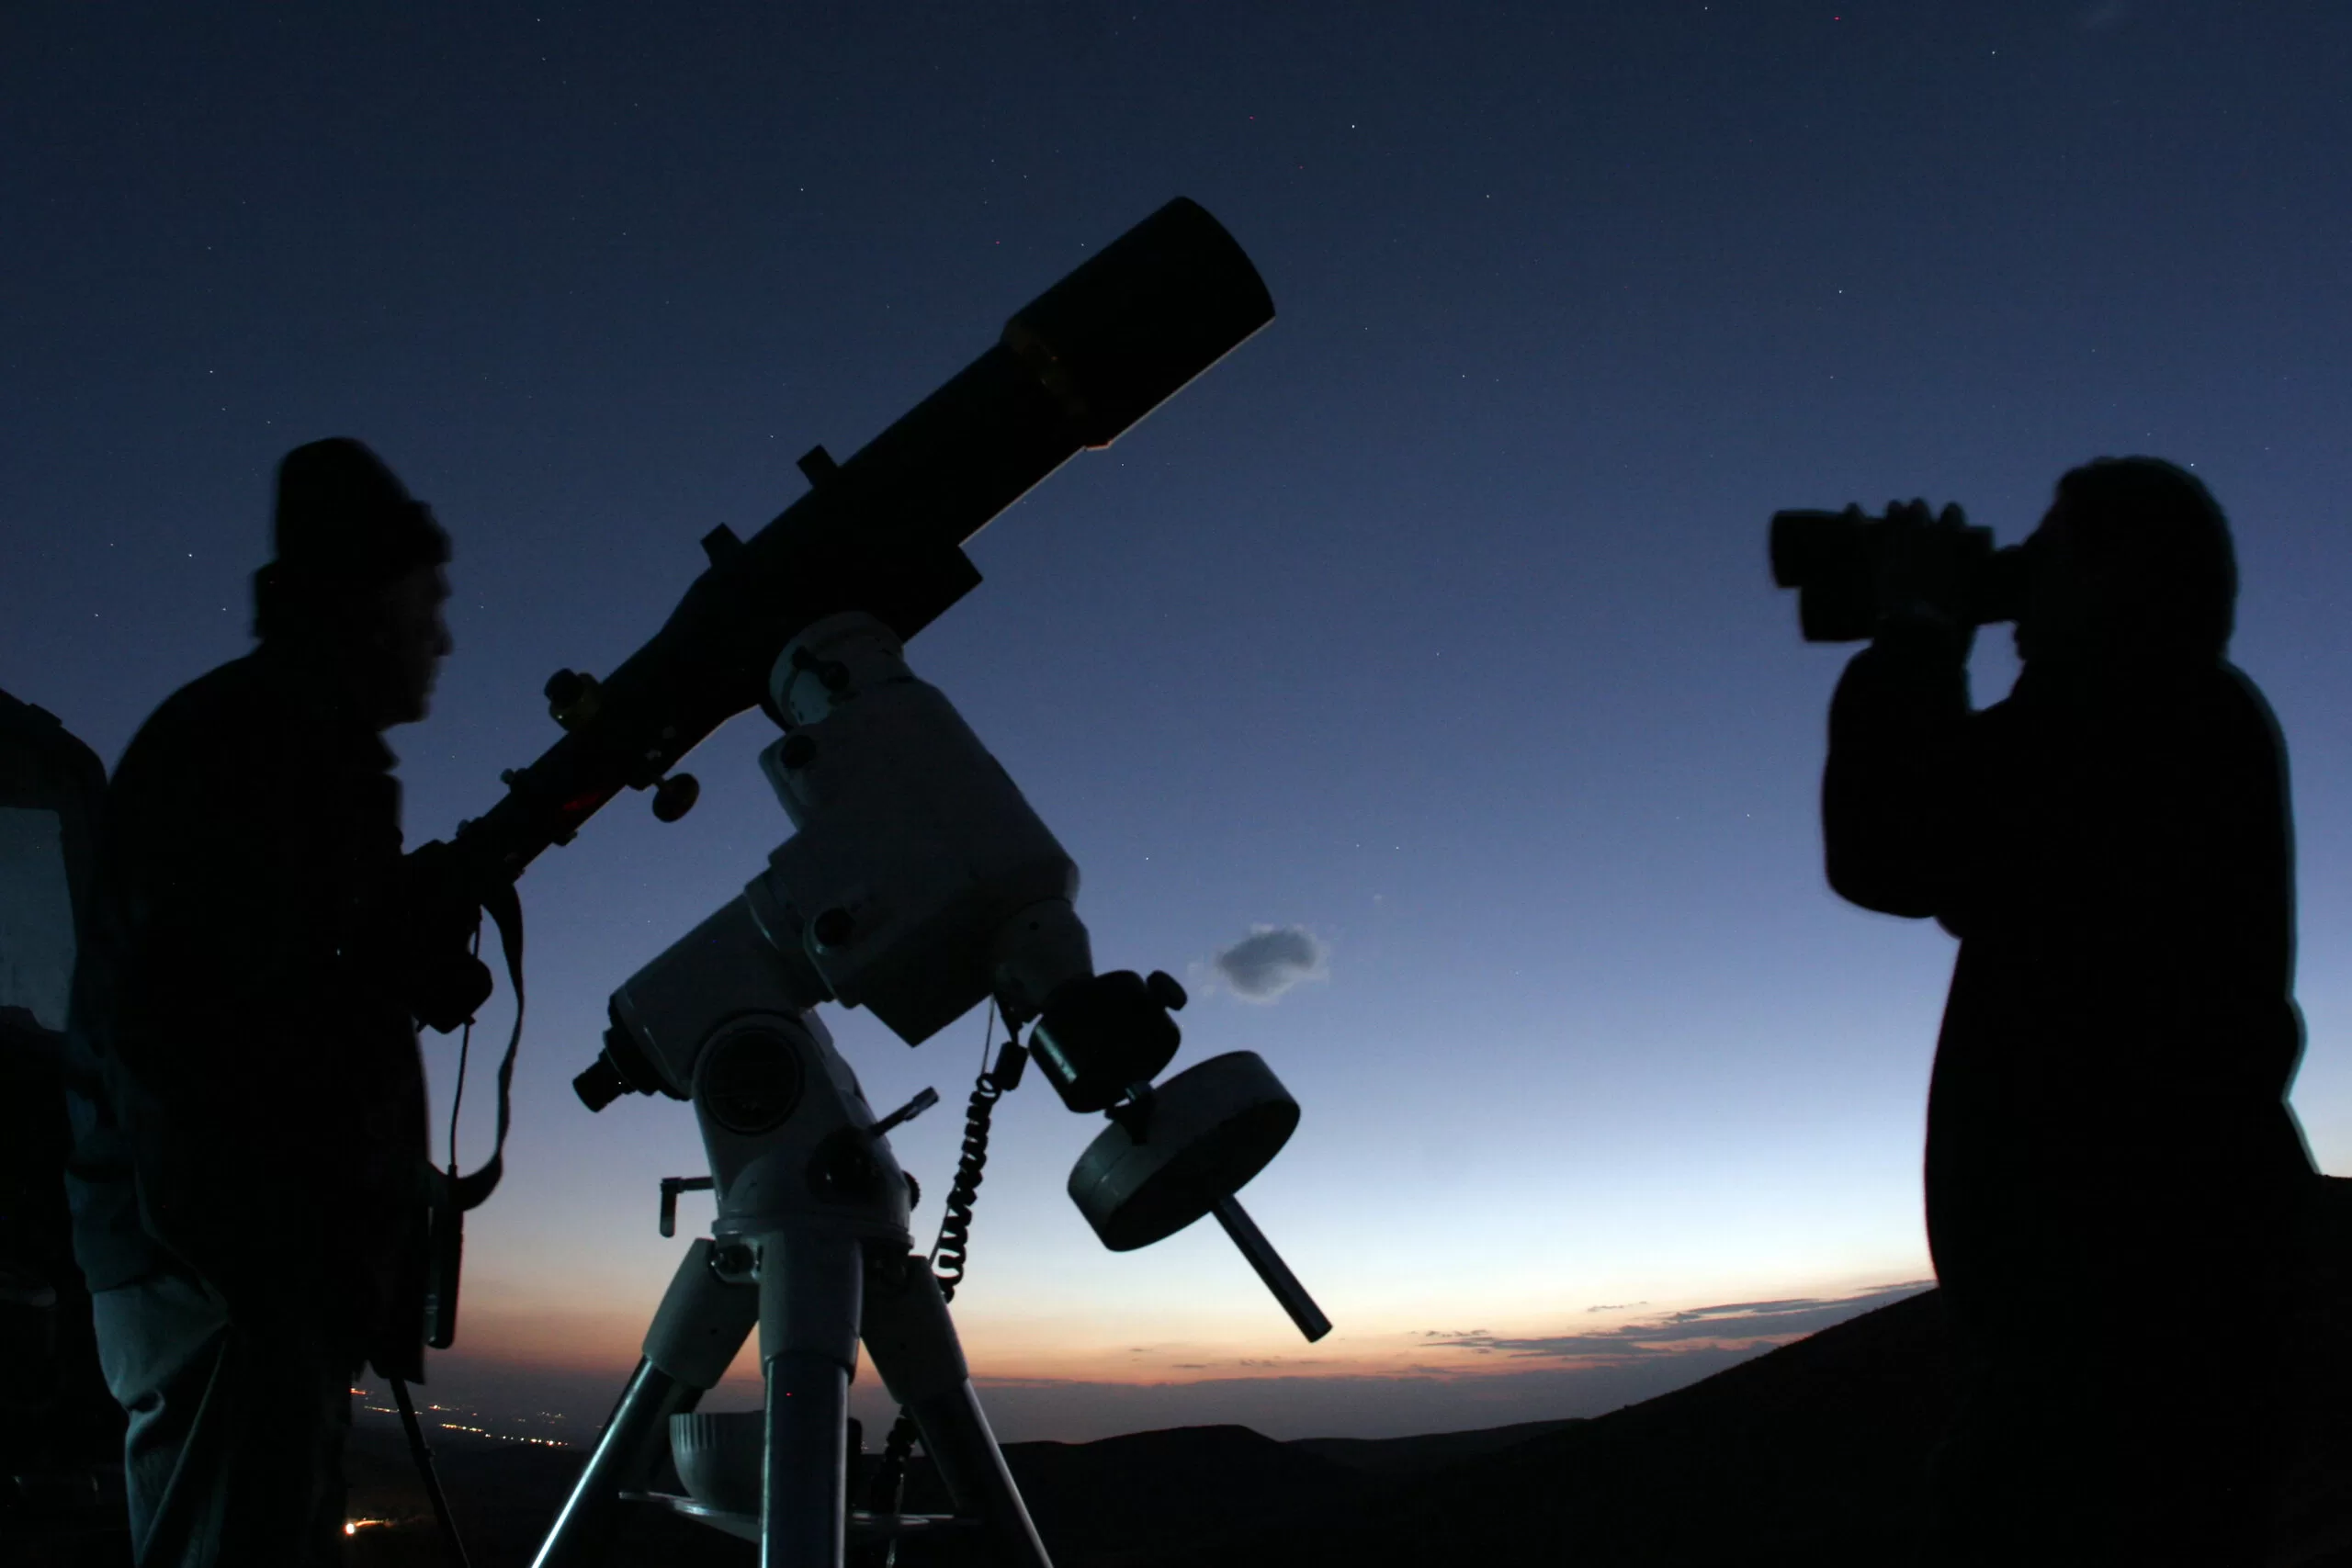
2. Equipment Checklist
- Camera: A DSLR or mirrorless camera with manual mode is ideal, but a high-quality compact camera can also work.
- Lens: A telephoto lens (200mm or longer) is recommended to capture detailed images of the eclipse.
- Tripod: A sturdy tripod is essential to stabilize your camera, especially during long exposures.
- Solar Filter: Attach a certified solar filter to your lens to protect your camera’s sensor and your eyesight.
- Remote Shutter Release: To minimize camera shake, use a remote shutter release or your camera’s timer.
3. Camera Settings
- Manual Mode: Use manual mode to have full control over your settings.
- ISO: Start with a low ISO (100-400) to avoid overexposing the image.
- Aperture: A mid-range aperture (f/8 to f/16) helps maintain sharpness across the sun’s disk.
- Shutter Speed: Begin with a shutter speed of 1/1000 second and adjust based on the brightness of the eclipse phase.
4. Practice Makes Perfect
Familiarize yourself with your equipment and settings before the eclipse. Practice photographing the full moon to simulate the eclipse’s size and brightness. This rehearsal will help you adjust your settings quickly during the actual event.
5. Composition and Focusing
- Composition: Plan your composition in advance. Consider including foreground elements to add interest and scale to your image.
- Focusing: Auto-focus might struggle in the dim light. Switch to manual focus and pre-focus on the moon or a distant object to ensure sharpness.
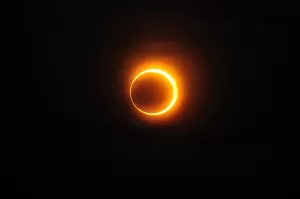
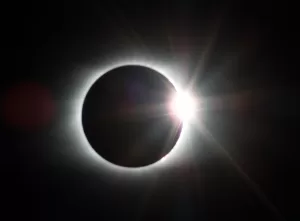
6. Capture Different Phases
The solar eclipse has multiple phases. Capture the partial phases leading up to totality, the diamond ring effect, and Baily’s beads if possible. Adjust your settings as the light changes, especially during totality, when you can remove the solar filter to photograph the sun’s corona.
7. Post-Processing
Shooting in RAW format gives you more flexibility during post-processing. Adjust exposure, contrast, and sharpness to bring out the details in your eclipse images.
Conclusion
Photographing a solar eclipse is an exhilarating challenge that combines the art of photography with the science of astronomy. With the right preparation, equipment, and techniques, you can safely capture this celestial spectacle. Remember, practice is key to ensuring you’re ready for the fleeting moments of totality. Happy shooting! And visit our Eclipse Essentials Shop for all the camera and other equipment you might need.